

Let me preface by saying this, I am not an expert, but a learner. I’m still a beginner just like yourself. The trial and error process is my favorite. Don’t let the thought of sourdough bread-making intimidate you. If I can do it, so can you! Just be patient, breathe, and give yourself grace.
Ok, friends! Now that we learned the first three rules of sourdough bread making, and how to feed your starter, let’s make a loaf. Previously I shared a recipe that I used when I was first learning. With lots of trial and error, I have tweaked the recipe to make it (dare I say) the yummiest loaf of sourdough. Also, living in the desert your bread needs a little more help than living in a humid climate.
Here are my instructions to feed your sourdough starter. Once your starter is awake and active, you are ready to bake!
Tools
- Measuring cups
- Big bowl
- Tea towel
- Dutch oven or cast iron skillet
- Parchment paper
- Corn meal or Panko bread crumbs
- Aluminum foil
- Bread flour (3 cups)
- Warm water (1 1/4 cup plus 1 tablespoon)
- Sea salt or pink Himalayan salt (1 1/2 teaspoons)
In a clean mixing bowl, add 3/4 cup of active starter, 1 1/4 cups warm tap water plus 1 tablespoon, and 1 1/2 teaspoons Sea salt or pink Himalayan salt. Once added, mix it up.
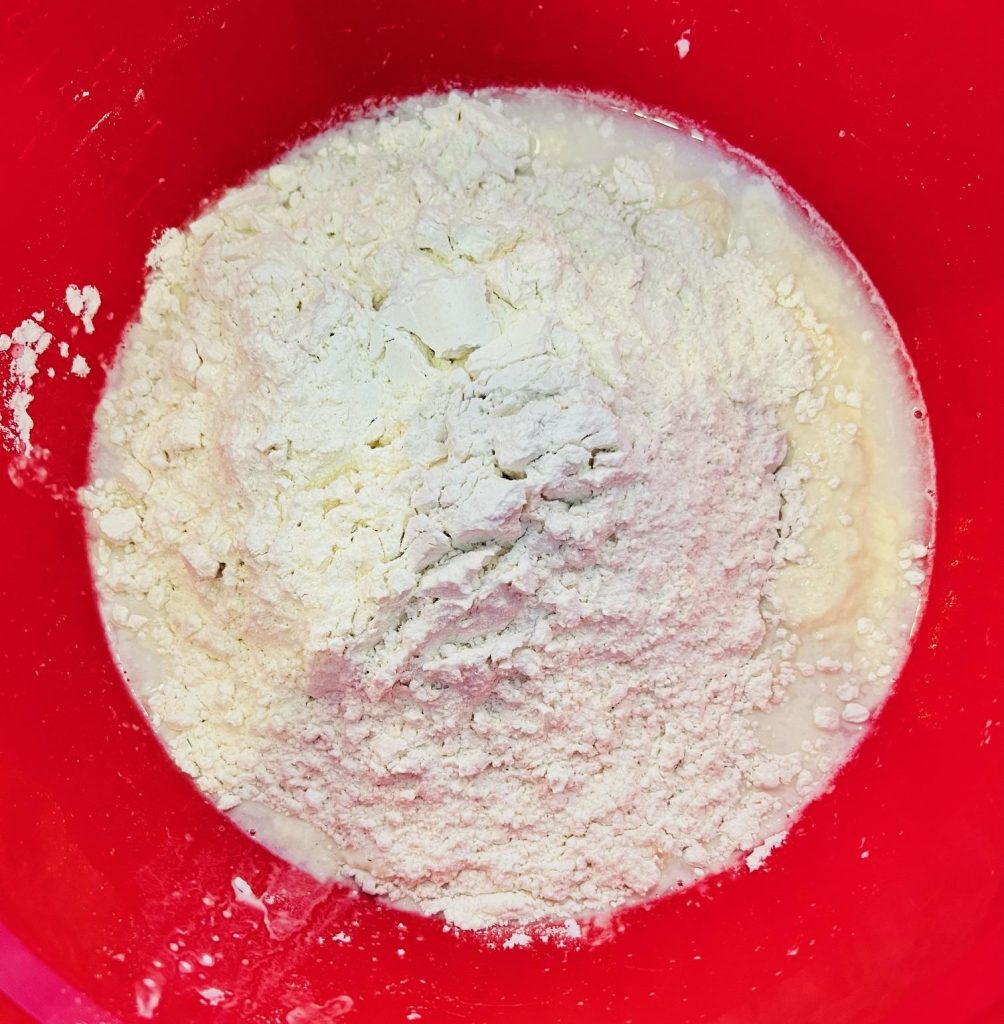
Next, add in your 3 cups of flour. I add it all at once. Then once you’ve added all your flour, combine until completely together. (It might be a tad dry, but don’t worry!)
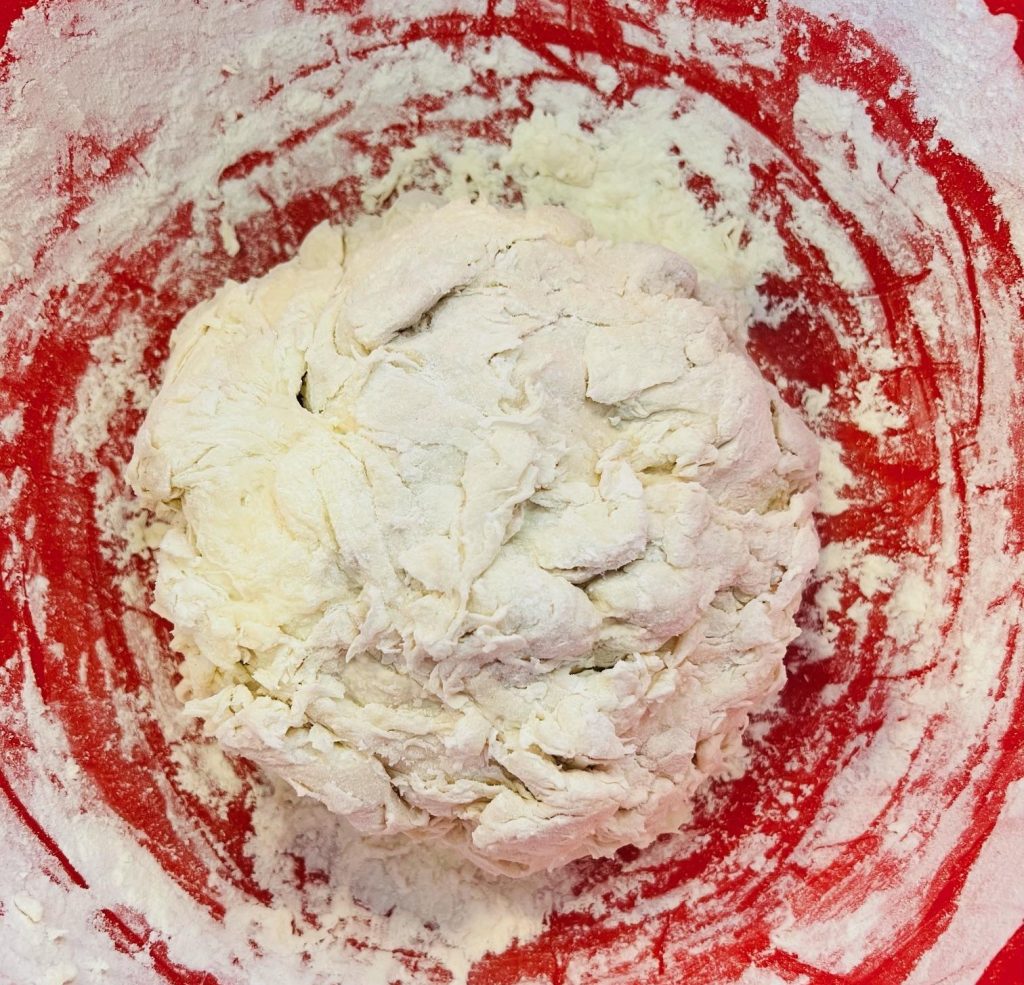
Cover it with a towel (my husband calls it a tea towel, probably his Canadian roots), but cover it with your kitchen towel and let rise for 2 hours. (This is called the bulk fermentation when the bread first rises, and it is crucial to a good loaf of sourdough.) I’ve tried letting it rise from anywhere between 30 minutes to 3 hours. I’ve found that 2 hours is a good stopping mark for our current dry climate.
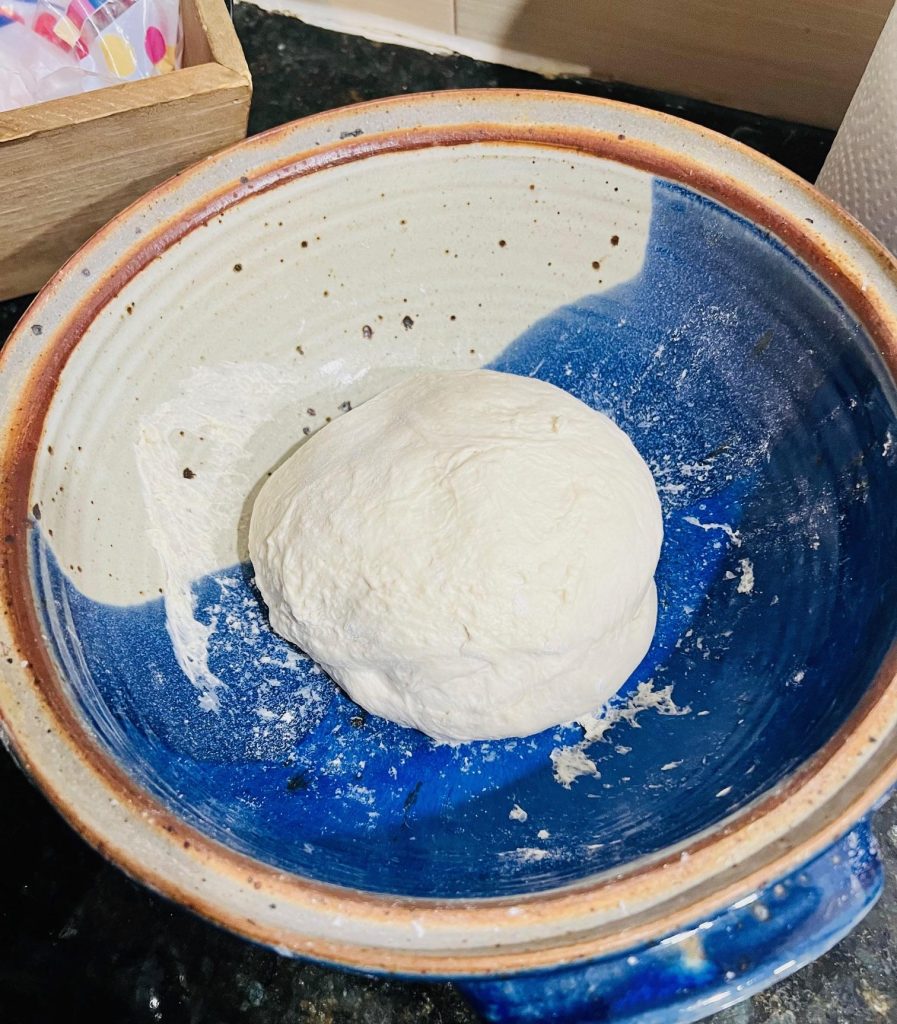
After the 2 hours, fold and shape it into a ball. Here’s a video of how to fold and shape your loaf as it’s easier to watch than to explain in writing.
After this, place your dough in a well-floured bowl, cover, and let it sit out overnight or at least 8 hours (I usually make this before bed and let it sit in my laundry room overnight).
The next morning or 8 hours later, take the dough out of the bowl and place it on a clean, floured counter space. Fold it over about 4 times and cover with a tea towel. Let it rest for 15 minutes.
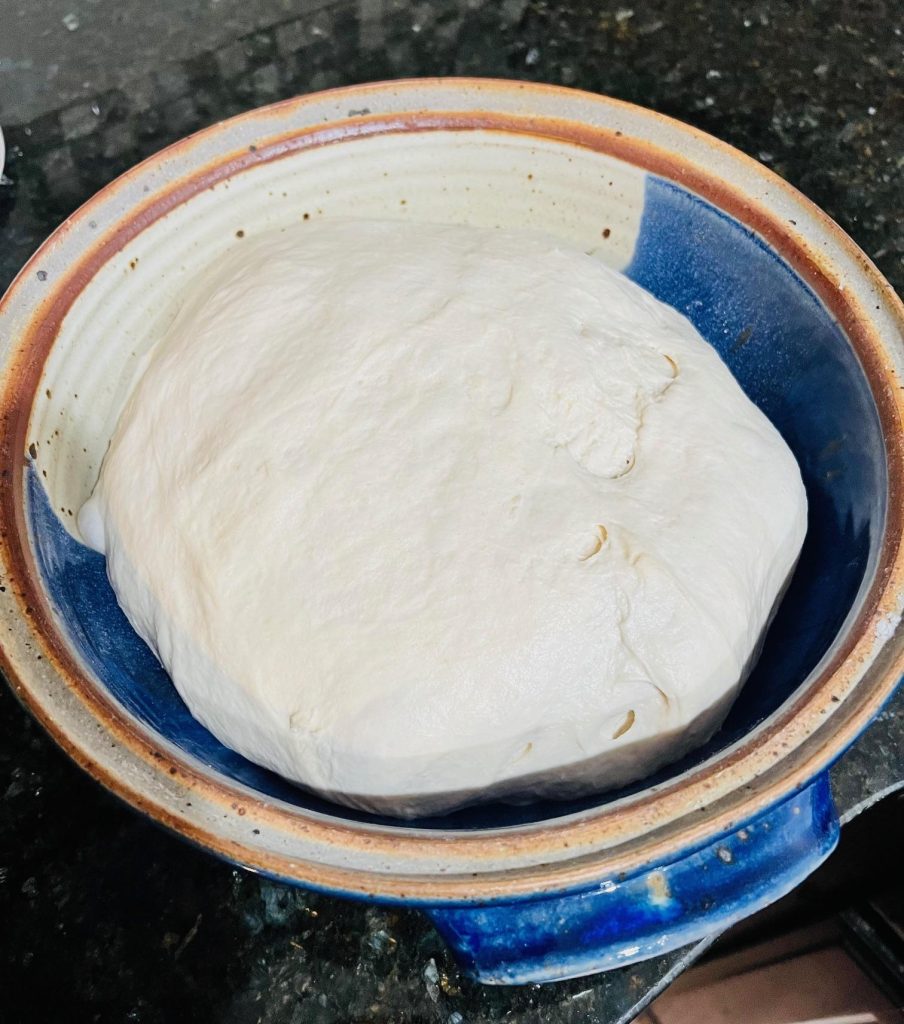
After that resting period, shape the dough into another ball by folding it. Place it back into a clean, well-floured bowl and let it sit for 2-3 hours in a warm place.
Once your 2-3 hour resting period has finished, preheat the oven to 450ºF. Take your Dutch oven or cast iron skillet and line it with corn meal or Panko bread crumbs. Be generous with the corn meal or Panko crumbs. We do this so that the bottom of your loaf doesn’t burn. (Trust me, I forgot it one time and had to cut off the bottom of my burnt end.)
Now, tip your beautiful loaf onto a sheet of parchment paper.
(Score the top if you’d like. I usually use a sharp knife. I have yet to purchase proper scoring tools or make any neat designs, but for now, a sharp knife shall do.) Cut off any excess parchment paper that is sticking out of the pan or Dutch oven. (I do this so it doesn’t burn and start an oven fire!)
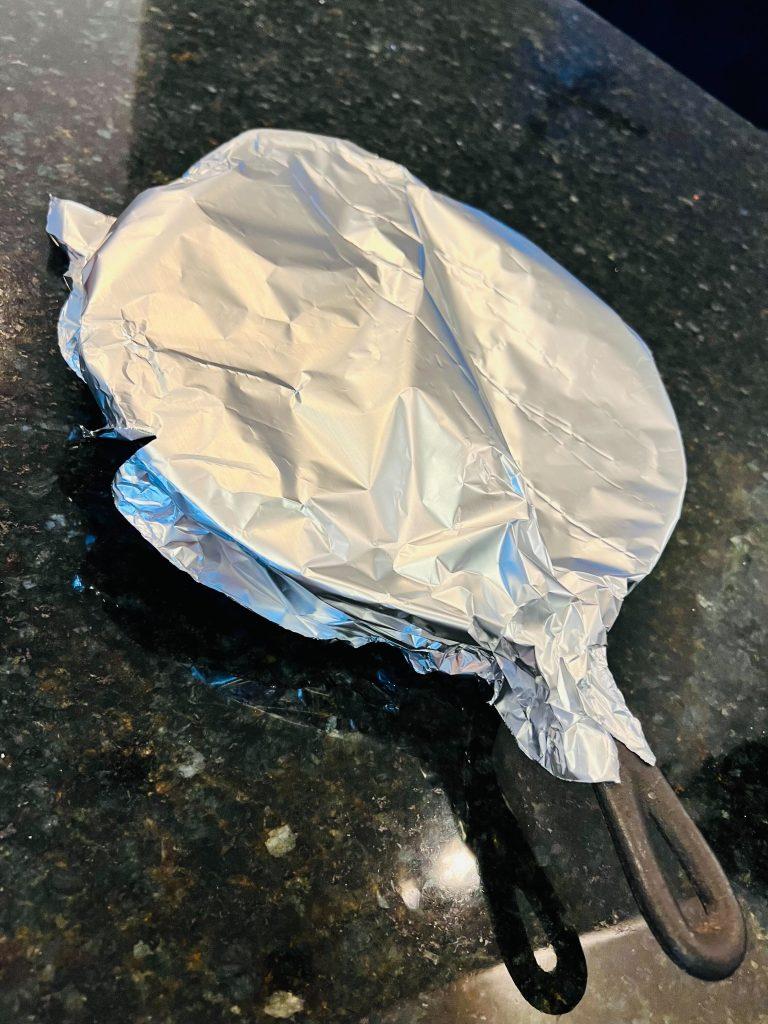
If using a cast iron skillet, cover your loaf with aluminum foil. The tighter you secure it, the less likely the steam that cooks the bread will be released. Here’s how I secure mine when using a cast iron skillet for reference.
 Place into the oven and bake covered for 30 minutes.
Once your timer goes off for the initial 30 minutes, take your loaf out and uncover it. Place it in the oven for another 20 minutes and finish baking.
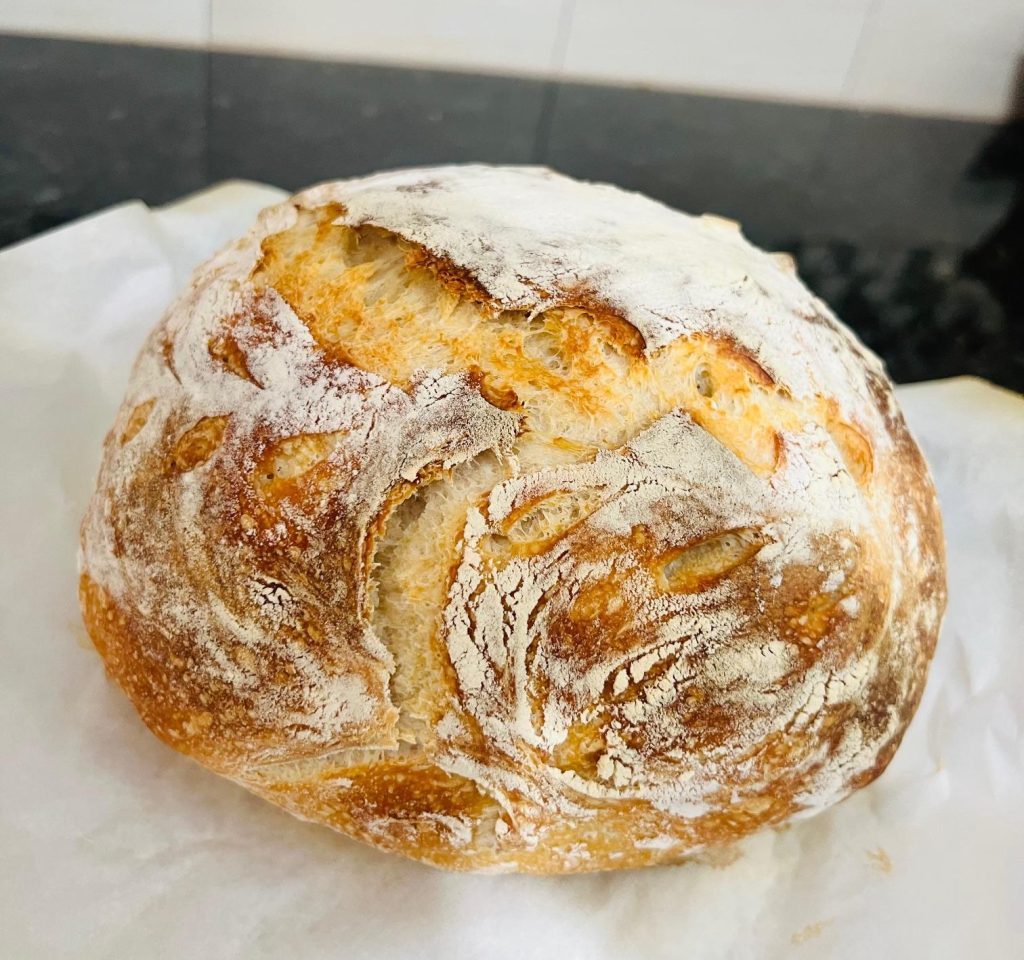
Finally, once finished baking, take your loaf out of your Dutch oven or skillet and place it to the side. (Now this is going to be the hardest part, but you must let it cool!) I know it sounds cruel to make you wait even more, but trust me! Your bread is still baking from the inside and cutting into it prematurely will leave you with a dense, less fluffy loaf. This should take anywhere from 2 to 4 hours.
Once it’s completely cooled, she’s all yours! You did it! Welcome to the club.
Eat and enjoy! I usually serve it on the side of soup, smother it in butter, or dip it in this olive oil recipe.
![]()
The opinions expressed in this post are those of the author. They do not necessarily reflect the official policy or position of El Paso Mom, its executive team, other contributors to the site, its sponsors or partners, or any organizations the aforementioned might be affiliated with.

")


